 Save
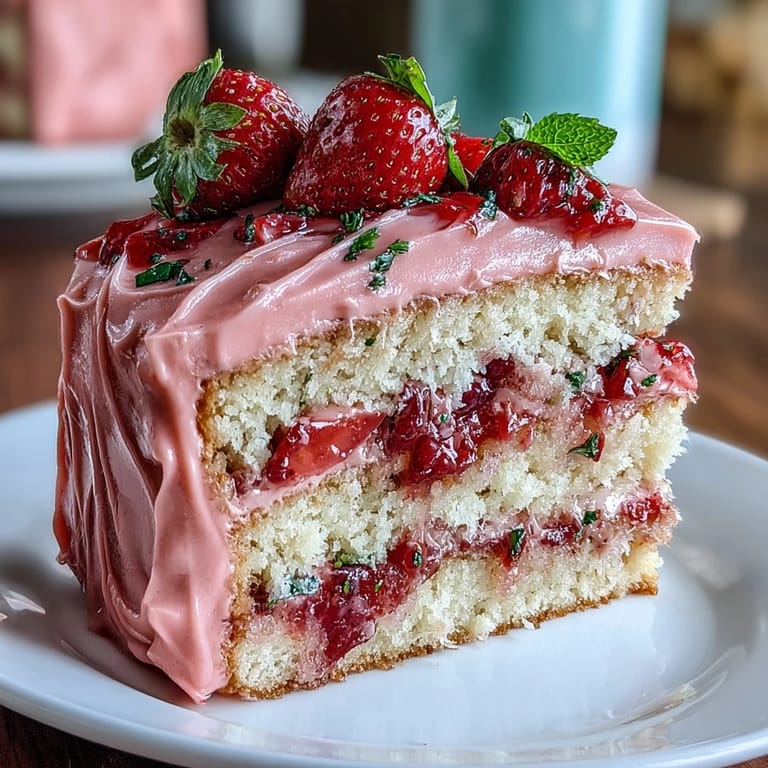
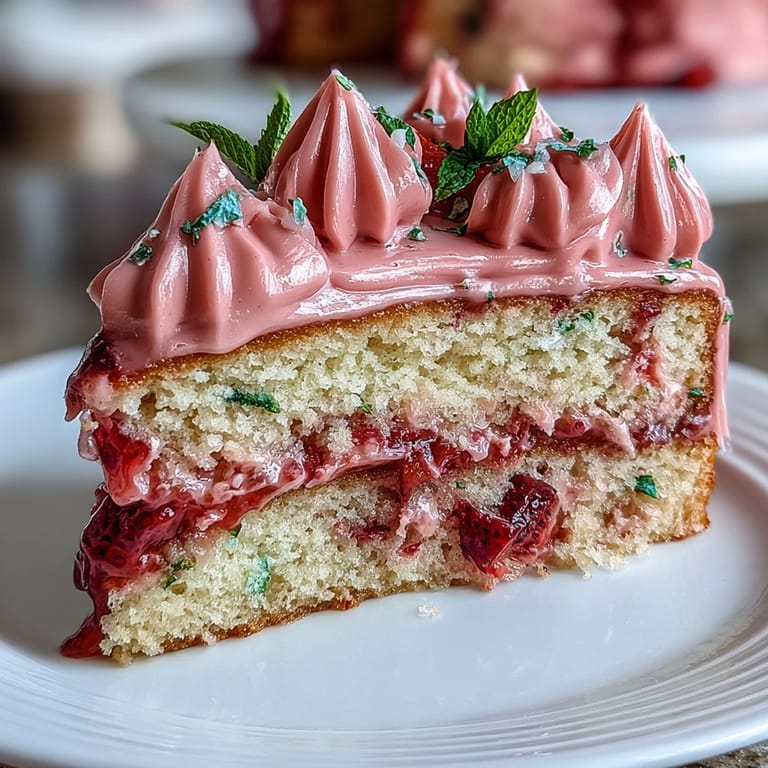
Save My sister texted me a photo of this cake at 11 PM on Valentine's Day eve, asking if I could make it for her galentine's brunch. I'd never attempted a strawberry lemonade layer cake before, but something about the combination of bright pink frosting and citrus felt impossible to resist. By midnight, I was furiously scribbling notes, imagining how the fresh strawberry and zesty lemon would play together. The next morning, my kitchen smelled like summer despite the February snow outside, and I knew I'd stumbled onto something special.
I'll never forget watching my sister's face light up when she bit into a slice—she closed her eyes for a full second, which is how I knew I'd nailed it. Her friends immediately started asking if I did custom orders, and suddenly this cake became the thing people requested for every celebration that spring. What started as a midnight panic bake turned into my most requested recipe, which still makes me laugh.
Ingredients
- All-purpose flour (2 1/2 cups): Measure by spooning into the cup and leveling off—scooping directly from the bag packs it down and makes the cake dense.
- Baking powder and baking soda (2 tsp and 1/2 tsp): Check expiration dates because old leavening agents won't give you that tender, airy crumb you're after.
- Granulated sugar (1 1/4 cups): This amount balances the tartness of lemon without making the cake cloyingly sweet.
- Unsalted butter and vegetable oil (1/2 cup each): The combination creates unbelievable moisture—butter for flavor, oil for tenderness.
- Eggs (4 large, room temperature): Cold eggs won't emulsify properly, so pull them out 30 minutes before baking.
- Buttermilk (1/2 cup, room temperature): The acidity reacts with the baking soda to create lift and keeps the crumb tender.
- Freshly squeezed lemon juice and zest (1/2 cup juice, 1 tbsp zest): Bottled juice tastes flat by comparison—fresh is absolutely worth the extra squeeze.
- Strawberry purée (1/2 cup): Blend fresh strawberries until completely smooth; frozen strawberries work too if you thaw and drain them first.
- Pink or red food coloring (optional): A few drops intensifies the color without affecting taste, but gel coloring works better than liquid.
- Unsalted butter for frosting (3/4 cup, softened): Take it out of the fridge the night before so it's soft enough to beat into fluffy clouds.
- Powdered sugar (3 cups, sifted): Sifting prevents lumps that ruin the frosting's silky texture.
- Strawberry purée for frosting (1/3 cup): Same as the cake—fresh, blended, and strained if it's too watery.
Tired of Takeout? 🥡
Get 10 meals you can make faster than delivery arrives. Seriously.
One email. No spam. Unsubscribe anytime.
Instructions
- Prep your pans and preheat:
- Turn your oven to 350°F and let it heat while you grease two 8-inch round pans, then line the bottoms with parchment paper circles—this is non-negotiable for getting the layers out without crumbling.
- Whisk the dry team:
- In a medium bowl, whisk together flour, baking powder, baking soda, and salt, making sure the leavening agents are evenly distributed throughout the flour.
- Cream butter, oil, and sugar:
- Beat these together for exactly 3 minutes until the mixture looks pale and fluffy like clouds—this is where the cake gets its tender crumb, so don't rush it.
- Add eggs one at a time:
- Drop each egg in individually and beat well after each one so the batter emulsifies smoothly instead of looking curdled.
- Introduce the wet ingredients:
- Pour in the buttermilk, lemon juice, and lemon zest, mixing just until you don't see streaks of white.
- Fold in the strawberry magic:
- Gently stir the strawberry purée into the wet mixture, being careful not to overwork the batter—this is when you'd add food coloring if you want that vibrant pink hue.
- Combine wet and dry:
- Add the flour mixture in two batches, folding gently after each addition until just combined; overmixing develops gluten and makes the cake tough.
- Divide and smooth:
- Pour equal amounts of batter into each prepared pan and use a spatula to even out the tops so both layers bake evenly.
- Bake until golden:
- Bake for 28–32 minutes until a toothpick inserted in the center comes out clean with just a few crumbs clinging to it.
- Cool with patience:
- Let the cakes rest in their pans for 10 minutes before turning them out onto a wire rack to cool completely—rushing this step causes crumbling.
- Make the frosting:
- Beat softened butter until creamy, then gradually add sifted powdered sugar a bit at a time while beating continuously so no lumps sneak in.
- Build the frosting flavor:
- Stir in strawberry purée, lemon juice, lemon zest, and salt, then beat until the frosting is fluffy and spreadable with that beautiful pink tone.
- Stack and frost:
- Place the first cooled cake layer on your serving plate, spread a generous layer of frosting on top, then carefully set the second layer on top and frost the entire outside.
- Decorate like you mean it:
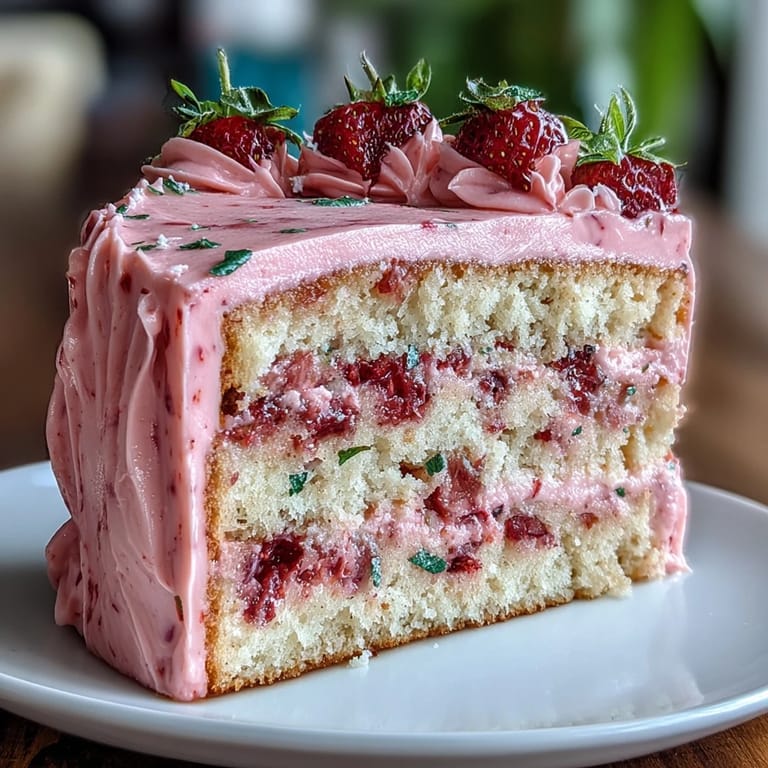
- Crown the cake with fresh strawberry slices, lemon zest, or edible flowers—the decoration makes it feel like a celebration.
 Save
Save There's something almost magical about watching someone's expression shift from skepticism to pure joy when they taste a flavor combination they've never considered before. That's what this cake does—it surprises people in the best way, proving that pink frosting can taste just as good as it looks.
The Science of Strawberry and Lemon
When I started experimenting with this cake, I realized that strawberry and lemon aren't just a pretty color combination—they're actually flavor soulmates. The tartness of fresh lemon juice brightens the sweetness of strawberries and prevents the cake from tasting cloying or one-dimensional. The citric acid in the lemon also reacts with the baking soda to create extra lift in the batter, which is why this cake ends up so airy and tender instead of dense.
Timing and Temperature Tricks
I used to ignore the instruction about room temperature ingredients, thinking it was fussy overthinking. Then I made two batches side by side—one with cold eggs and buttermilk, one with room temperature—and the difference was shocking. Room temperature ingredients emulsify smoothly into the butter and sugar, creating a batter that bakes evenly and rises properly. Cold ingredients don't mix in as thoroughly, which leads to dense spots and uneven baking.
Make-Ahead Magic and Storage Secrets
I've baked this cake on Sunday for a Wednesday party and it stayed perfectly moist, which turned this into my go-to recipe for any occasion when I need breathing room. The combination of oil and butter in the batter locks in moisture, and the strawberry purée adds natural humidity that keeps it tender even after a day or two. Store it covered at room temperature if you're serving within 24 hours, or refrigerate it if you need extra time—the frosting holds up beautifully either way.
- You can frost the cake up to 8 hours before serving and keep it at room temperature, which takes so much pressure off party day.
- If decorating with fresh strawberries, add them no more than 2 hours before serving so they don't weep juice onto the frosting.
- Leftover unfrosted cake layers freeze wrapped in plastic wrap for up to a month, so you could make the cake ahead and frost it fresh the day of.
 Save
Save This cake has somehow become the dessert that people specifically ask me to make, which still surprises me given how straightforward it actually is. There's real joy in baking something this beautiful and delicious, knowing it'll make someone's day a little sweeter.
Common Questions
- → How do I achieve the pink color in the cake?
Adding a few drops of pink or red food coloring to the batter enhances the strawberry hue without affecting the flavor.
- → Can I use fresh strawberries instead of purée?
Fresh strawberries should be puréed for even incorporation, ensuring the cake remains moist and evenly flavored.
- → What is the role of buttermilk in this cake?
Buttermilk adds moisture and a slight tang that balances the sweetness and helps create a tender crumb.
- → How should the cake be stored after preparation?
Store covered at room temperature for up to a day or refrigerate to keep it fresh longer, ensuring frostings stay intact.
- → Can this cake be made gluten-free?
Using a 1:1 gluten-free flour blend in place of all-purpose flour works well, maintaining texture and flavor.