 Save
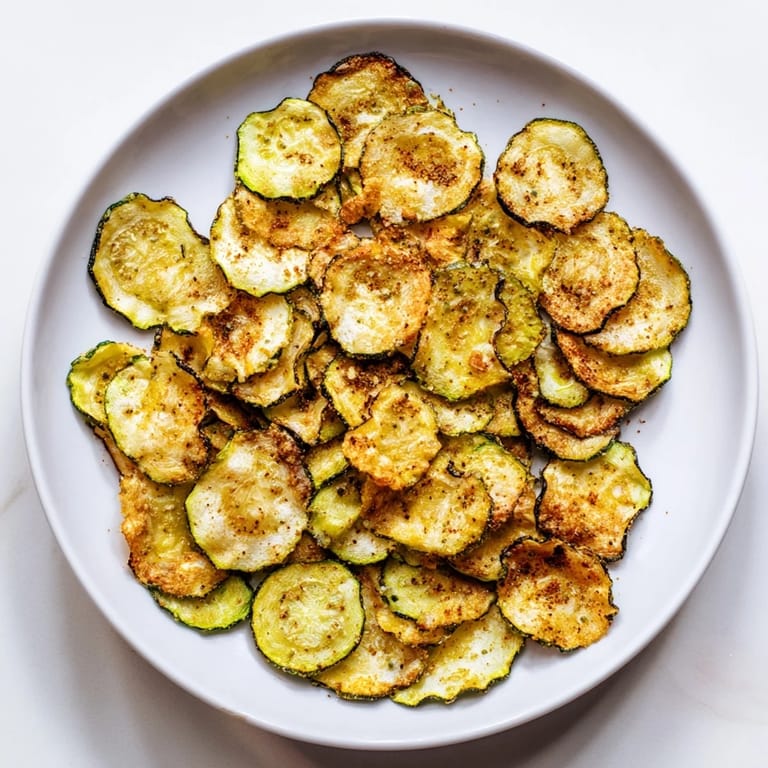
Save I discovered crispy zucchini chips entirely by accident on a sweltering July afternoon when my garden had exploded with more zucchini than I knew what to do with. My neighbor had handed me a basket of three oversized ones, and I stood in my kitchen wondering how many zucchini bread loaves one person could reasonably eat. Then I remembered something my mom once mentioned about baking thin vegetable slices until they shattered like glass, and I thought, why not try? That first batch took forever and burned at the edges, but a few golden rounds came out perfectly crispy, and I was hooked.
I made these for a movie night with friends who were skeptical about eating anything green and unbattered, and I watched their faces change the moment they tasted one. They went through nearly two full baking sheets in the first twenty minutes, and someone asked if I'd made them at a restaurant. It felt ridiculously good to hand them something that tasted indulgent but was actually just patient slices of summer squash.
Ingredients
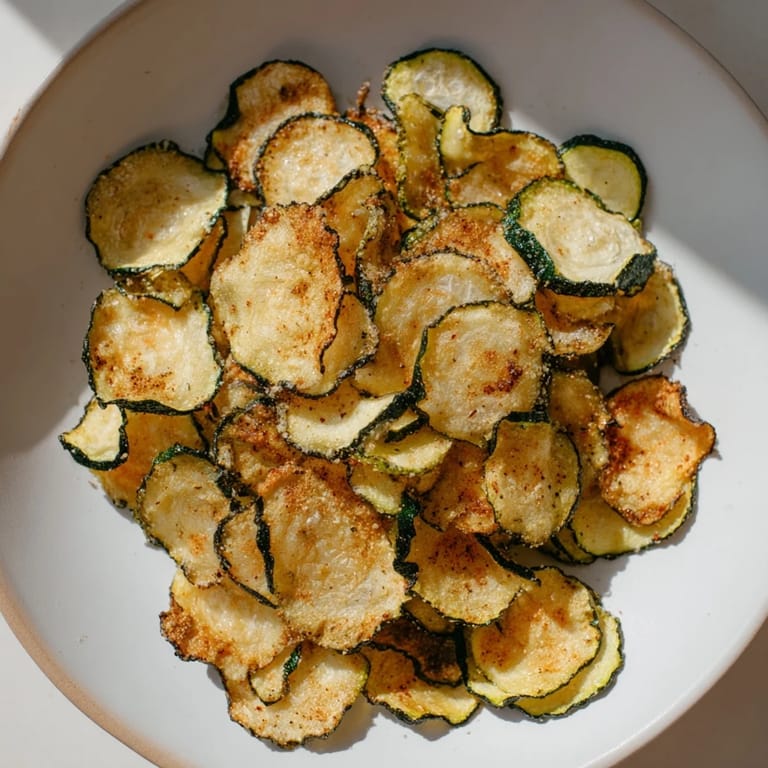
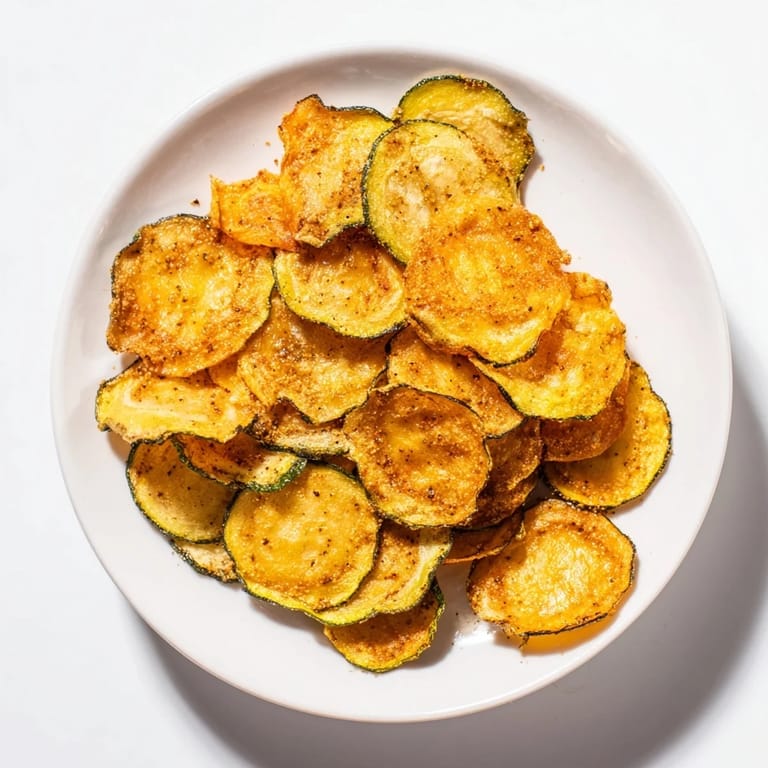
- Zucchini: Pick medium ones that feel firm and aren't waterlogged—the smaller, denser zucchini will crisp better than those giant watery ones that have been sitting in the sun too long.
- Olive oil: Just enough to coat every slice, which creates that golden, almost fried texture as the moisture evaporates in the oven.
- Sea salt: A light hand here makes all the difference; you're seasoning as they dehydrate, so a little goes a long way.
- Black pepper: Fresh ground tastes infinitely better than the pre-ground stuff that's been sitting in your cabinet.
- Garlic powder and smoked paprika: These are optional, but they add a sophisticated edge that makes people ask what you did differently.
Tired of Takeout? 🥡
Get 10 meals you can make faster than delivery arrives. Seriously.
One email. No spam. Unsubscribe anytime.
Instructions
- Set your oven low and slow:
- Preheat to 225°F and line two baking sheets with parchment paper. This low temperature is the secret—it dehydrates rather than cooks, which is how you get that shattering crispness.
- Prep your zucchini with care:
- Wash and thoroughly dry them, then slice into uniform rounds about 1/8 inch thick using a mandoline if you have one (it makes everything consistent). Uneven slices will cook at different rates and leave you with some chewy pieces.
- Remove every drop of moisture:
- This is non-negotiable—pat each slice down with paper towels until they feel dry to the touch. The excess water is the enemy of crispiness.
- Season and toss with intention:
- In a bowl, coat your zucchini slices with olive oil and seasonings, making sure every single piece gets touched. This is easier than seasoning after baking and more even.
- Arrange without overlap:
- Lay each slice flat on the parchment in a single layer, leaving tiny gaps between them. If they touch, they'll steam instead of crisp.
- Bake with patience and one flip:
- After one hour, rotate your sheets and flip each chip. This takes five minutes and ensures even browning on both sides. Continue for another 30 to 40 minutes until golden.
- Cool completely before eating:
- They finish crisping as they cool, so resist breaking into them straight from the oven—they'll still be slightly soft. Patience pays off here.
 Save
Save There was a quiet moment during that first batch when I pulled the chips out and the kitchen filled with this toasted, almost nutty smell that I didn't expect. My teenage daughter wandered in, grabbed one, and didn't say anything—just kept eating them until I laughed and told her to slow down. Something about turning garden overflow into something craveable felt like a small, everyday victory.
Seasonings Worth Trying
While the basic version is perfect, I've experimented enough to know that these chips are a blank canvas. Chili powder and lime zest give them a Southwestern vibe, Italian herb blends make them taste almost pizza-like, and a dusting of nutritional yeast adds an unexpected umami note. The smoked paprika is my personal favorite because it makes them taste like they came from somewhere more interesting than your kitchen.
Storage and Freshness
These are genuinely best the day you make them when they have that perfect glass-like snap. After a day or two in an airtight container, they soften slightly, though they're still edible and kind of turn into a crunchy snack rather than a crispy one. I've learned not to overbake them thinking they'll stay crispy longer—it just makes them bitter and charred at the edges.
Making It Work for You
The beauty of this recipe is how forgiving it is once you understand the basic principle: thin slices, low heat, patience. I've made these in different ovens that run hot and cold, with zucchini from different sources, and adjusted my timing accordingly. If your oven runs fast, start checking at 50 minutes; if it's slow, they might need the full 90. The visual cue is always more important than the clock.
- Use parchment paper instead of oiling the baking sheets directly—it prevents sticking and lets the bottoms crisp evenly.
- If you're doubling the recipe, use four baking sheets instead of rotating two; everything cooks more evenly that way.
- Save the offcuts and slivers for adding to soups or pasta—they rehydrate beautifully.
 Save
Save These chips taught me that sometimes the simplest solutions—low heat, patience, and quality ingredients—create something more satisfying than anything complicated. Every time I make them, I'm reminded that food doesn't need to be fussy to be memorable.
Common Questions
- → How do I achieve crispy zucchini chips?
Slice zucchini very thin and dry thoroughly. Bake slowly at low temperature, turning halfway, until golden and crisp.
- → Can I add different seasonings?
Yes, try chili powder, Italian herbs, or nutritional yeast for varied flavors alongside the basic salt and pepper.
- → What is the best slicing method?
A mandoline slicer ensures uniform thin rounds which bake evenly for consistent crispiness.
- → How should I store leftover chips?
Store completely cooled chips in an airtight container for up to two days to maintain their crunch.
- → Are these zucchini snacks suitable for specific diets?
Yes, they are vegetarian, gluten-free, and low-carb, fitting many dietary preferences.
- → Can I add cheese before baking?
Sprinkling grated Parmesan before baking adds a rich, savory layer and enhances crispness.