 Save
Save My sister walked into my kitchen holding her phone with Pure Vanilla Cookie's gentle face glowing on the screen, asking if I could somehow turn this beloved game character into something edible. I laughed at first, but then I realized—those soft vanilla cookies with that pristine royal icing were exactly what she needed for her themed birthday party. Three hours later, my hands were dusted with powdered sugar, my piping bag was steady, and I understood why these cookies had captured so many hearts.
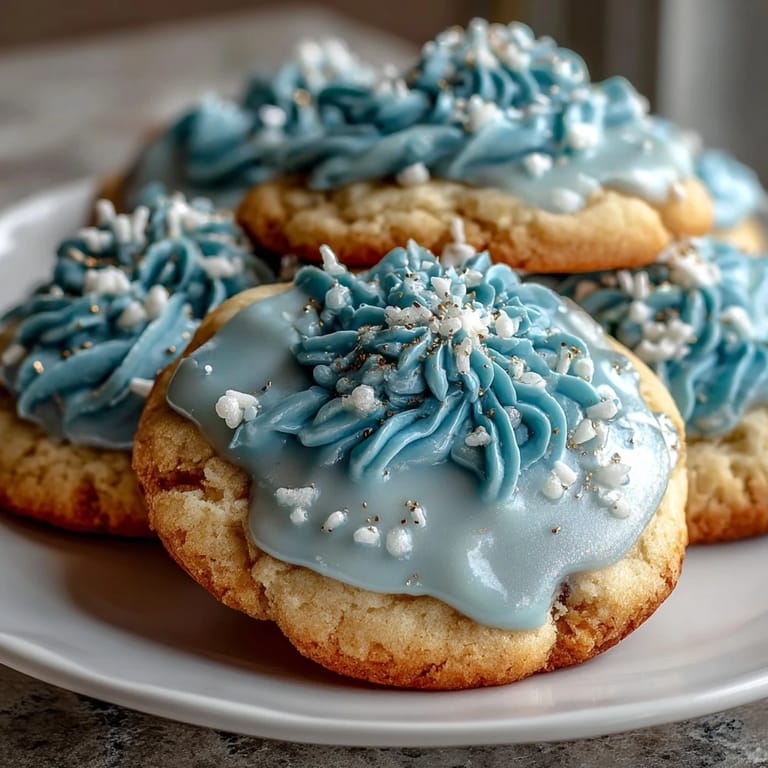
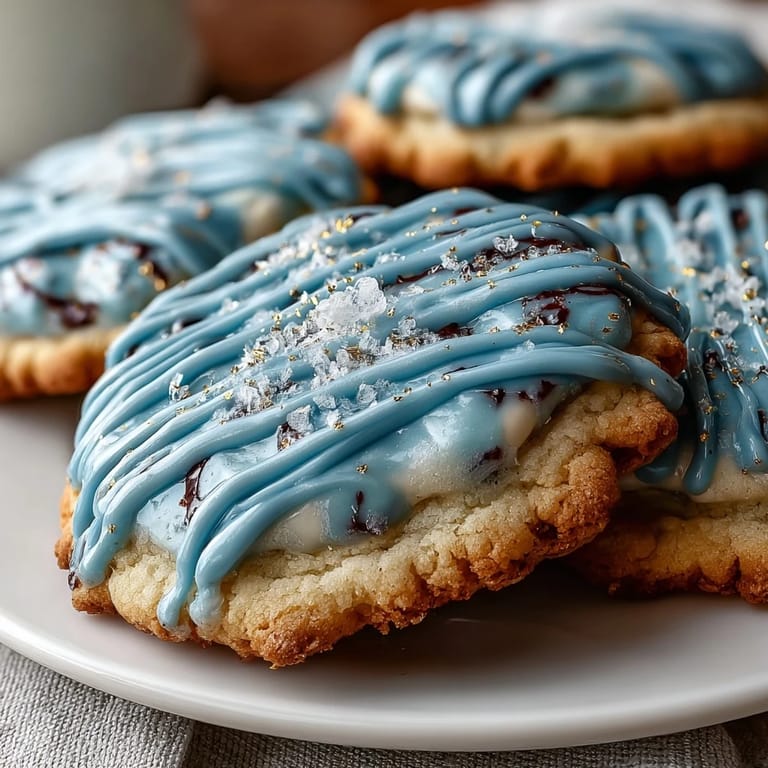
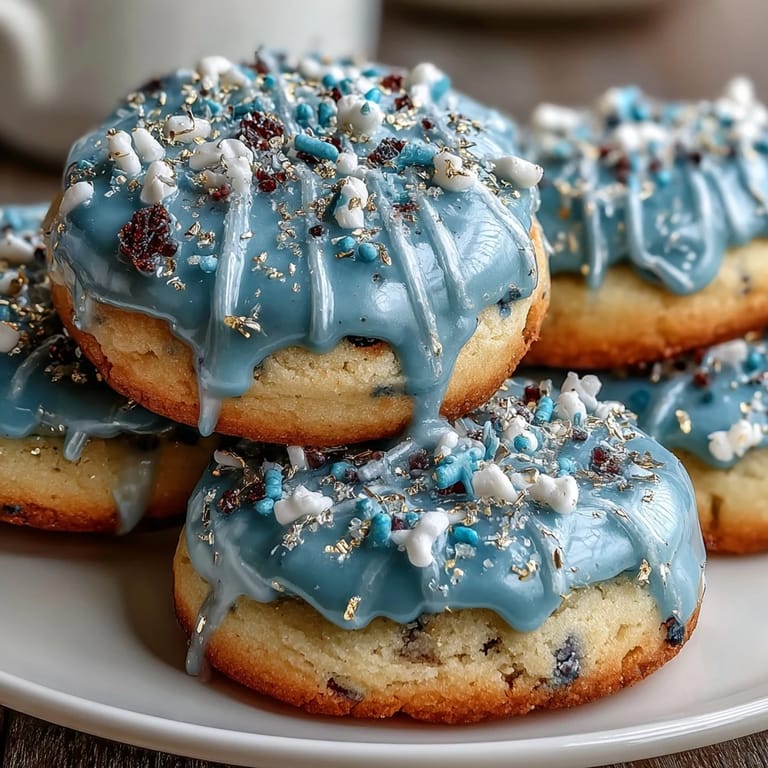
I'll never forget watching my sister's face light up when she saw the finished cookies arranged on a tiered stand, each one painted in soft blues and golds like little edible art pieces. Her friends couldn't stop asking where she'd bought them, and that moment—when she pointed to me with this proud smile—made every careful piping stroke worth it.
Ingredients
- All-purpose flour (2 1/2 cups): This is your foundation, and scooping directly from the bag compresses it too much—spoon it in gently or weigh it for consistency.
- Unsalted butter (3/4 cup, softened): Soft butter creams properly with sugar, creating those tender cookies; if it's cold, let it sit on the counter for 15 minutes.
- Granulated sugar (1 cup): The sugar-butter mixture is where the magic begins, so beat it until it's genuinely fluffy and pale, not just mixed.
- Pure vanilla extract (2 tsp): Don't cheap out here—real vanilla makes the difference between good and unforgettable.
- Baking powder (1/2 tsp) and salt (1/4 tsp): These humble ingredients keep your cookies tender and prevent them from tasting flat.
- Egg (1 large) and milk (1 tbsp): These add moisture and help bind the dough into something cohesive without making it cake-like.
- Powdered sugar (2 cups, sifted) and meringue powder (2 tbsp): The meringue powder is essential for royal icing that dries hard and glossy, not sticky.
- Gel food coloring: Gel holds color better than liquid coloring, and you only need a tiny amount to get those gorgeous blues and golds.
Tired of Takeout? 🥡
Get 10 meals you can make faster than delivery arrives. Seriously.
One email. No spam. Unsubscribe anytime.
Instructions
- Prepare your dry ingredients:
- Whisk flour, baking powder, and salt together in a medium bowl and set it aside—this prevents lumps and helps everything distribute evenly through your dough.
- Cream butter and sugar:
- Beat softened butter and granulated sugar together for 2-3 minutes until the mixture is pale and fluffy, which incorporates air and creates tender cookies. You'll notice the texture change as you beat—trust that process.
- Build your wet mixture:
- Add the egg, vanilla extract, and milk to your butter mixture, mixing until everything is combined and smooth. Don't worry about slight streaks; they'll come together once you add the flour.
- Bring the dough together:
- Gradually add your dry ingredients to the wet mixture, mixing just until the dough comes together—overmixing develops gluten and makes cookies tough instead of tender.
- Chill and rest:
- Divide dough into two disks, wrap tightly in plastic wrap, and chill for at least 1 hour, which makes rolling easier and helps cookies hold their shape. This is the hardest part: waiting, but it's worth it.
- Prepare your workspace:
- Preheat your oven to 350°F and line baking sheets with parchment paper so cookies won't stick and will bake evenly.
- Roll and cut:
- On a lightly floured surface, roll dough to 1/4-inch thickness and cut into shapes using your favorite cookie cutters. A light dusting of flour prevents sticking without adding more dough.
- Space and bake:
- Transfer cookies to prepared sheets with about 1 inch between each one, then bake for 10-12 minutes until edges just begin turning golden. They'll look slightly underdone—that's perfect.
- Cool properly:
- Let cookies rest on the baking sheet for 5 minutes to set up, then transfer to a wire rack to cool completely before decorating. Hot cookies will soften your icing and create a mess.
- Make the royal icing:
- Combine sifted powdered sugar, meringue powder, vanilla, and 4 tablespoons of warm water in a bowl. Beat on low speed until smooth and glossy, adding water 1 teaspoon at a time if needed to reach piping consistency.
- Color and decorate:
- Divide icing into separate bowls and tint with gel food coloring in soft blues, whites, and golds to match Pure Vanilla Cookie's aesthetic. Pipe or squeeze icing onto fully cooled cookies in whatever pattern makes your heart happy.
- Let it set:
- Allow the decorated cookies to sit undisturbed for several hours or overnight so the icing hardens completely, making them sturdy enough to stack or gift.
 Save
Save There's something almost meditative about piping icing onto each cookie, watching a plain vanilla circle transform into something worthy of a video game. By the time I finished decorating the last batch, my kitchen smelled like vanilla and achievement, and I understood why these cookies inspired such devotion.
The Art of Timing
Patience separates good cookies from great ones, and every step in this recipe rewards you for slowing down. Chilling the dough gives you cookies that hold their shape instead of spreading into awkward blobs; cooling completely before icing ensures your decorated design stays put; and letting the icing set overnight prevents smudging when you stack or wrap them. I learned this through trial and messy error, but now I never rush these steps.
Decoration Strategies That Work
You don't need advanced piping skills to make these cookies look stunning—in fact, some of my best designs came from happy accidents and keeping things simple. Solid-colored cookies with a contrasting piped outline look elegant without requiring a steady hand for hours, while thinner icing drizzled across the surface in abstract patterns covers imperfections and photographs beautifully. The Pure Vanilla Cookie theme calls for soft blues, whites, and gold yellows, but honestly, any color palette that brings you joy is the right one.
Storage and Gifting
These cookies stay fresh and crisp in an airtight container at room temperature for up to a week, making them perfect for advance preparation and thoughtful gifting. I've layered them in boxes with parchment paper between layers, tied them with ribbon, and watched people's faces light up when they opened the box—food made with care and intention hits different.
- Store in an airtight container with parchment paper between layers to prevent sticking and maintain that satisfying crunch.
- These cookies are naturally gluten-containing due to the flour, so label them clearly if gifting to friends with dietary restrictions.
- If you want to make these ahead, bake the unfrosted cookies and freeze them for up to two weeks, then decorate fresh whenever you're ready.
 Save
Save These Pure Vanilla Cookie-inspired sugar cookies became my go-to recipe for celebrations, and I think they'll become yours too. There's genuine joy in creating something beautiful that tastes as good as it looks.
Common Questions
- → How do I achieve a glossy finish on the icing?
Use meringue powder combined with powdered sugar and beat the mixture until smooth and shiny, adjusting water for the perfect consistency.
- → What is the best way to prevent cookies from spreading too much during baking?
Chilling the dough for at least one hour before rolling and cutting helps maintain shape and prevents excessive spreading.
- → Can I customize the icing colors?
Yes, gel food coloring can be added to the royal icing for vibrant decoration tailored to any theme.
- → How long should I bake the cookies for a soft texture?
Bake for 10 to 12 minutes, until edges just begin to turn golden, to keep a tender center.
- → What tools are recommended for decorating these cookies?
Using piping bags or squeeze bottles allows precise application of royal icing for detailed designs.