 Save
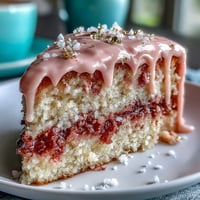
Save The first time I watched this Rosé Velvet Cake come to life, my kitchen was awash in pale sunlight, and the fragrance of rosé dancing with cocoa felt like a secret the room whispered back to me. Far from just another dessert, this cake seemed to declare the day special with every rosy swirl in the batter. Mixing in the wine, I caught myself grinning, wondering if it was the anticipation or just the soft fizz of celebration already in the air. It is not every day your countertop hosts a gold-draped cake meant to make hearts skip. This recipe is an invitation to celebrate, whether you're gathered with laughter or simply craving something unabashedly pretty and delicious.
I still blush when I think about making this for my best friend's bridal shower–the kitchen full of giggles, the unavoidable powdered sugar cloud, and someone always sneaking a taste of the frosting. People gathered around, phones at the ready, just to catch the shimmer of the gold drip as I finished the last strokes. We hadn't even cut the cake yet, but for a moment, that sparkling crown felt like a wish come true. Sometimes, the right cake makes the day linger a little longer. This was one of those times.
Ingredients
- All-purpose flour: Gives the cake its structure – be sure to fluff and spoon for lightness.
- Granulated sugar: Sweetens and helps achieve that coveted velvety crumb.
- Baking soda & baking powder: My go-to duo for a tender, well-risen cake.
- Salt: Just the right pinch brings out all the subtle flavors.
- Unsweetened cocoa powder: Do not skip this–even a little cocoa deepens that pink hue and flavor.
- Unsalted butter: Use it softened so everything blends silky smooth!
- Buttermilk: Room-temperature buttermilk is key for moisture and a slight tang.
- Rosé wine: Adds a blush of flavor–I love using a fruity bottle.
- Eggs: Let these come to room temp for a fluffy, unified batter.
- Vanilla extract: More than just backup, it lets the rosé shine without overpowering.
- White vinegar: A splash does wonders for both rise and texture.
- Pink food coloring gel: Start slow–a little goes a long way to that perfect pastel.
- Cream cheese: Softened cream cheese turns frosting into a dreamy, tangy pillow for the cake.
- Powdered sugar: Sifted, always–no one wants surprise sugar lumps in a frosting this delicate.
- Heavy cream: Makes the drip glossy and easy to pour.
- White chocolate chips: The base for our glamorous gold drip.
- Edible gold luster dust: Lends magical dazzle to every celebration slice.
- Vodka or clear extract: Used for painting the gold drip so it shines without smearing.
- Edible decorations: Flowers, gold leaf, or berries for when you just want that extra sparkle.
Tired of Takeout? 🥡
Get 10 meals you can make faster than delivery arrives. Seriously.
One email. No spam. Unsubscribe anytime.
Instructions
- Get Your Cake Pans Ready:
- Preheat your oven to 350°F and line your three 8-inch pans with parchment so the cakes release with no drama.
- Combine Dry Ingredients:
- Sift flour, cocoa, baking soda, baking powder, and salt into a bowl; tapping the sifter fills the air with cocoa and promise.
- Cream Butter and Sugar:
- Beat butter and sugar together until pale and fluffy; it should sound like little clouds swirling against the bowl.
- Add Eggs and Vanilla:
- Crack in eggs one at a time, mixing after each, then pour in the vanilla and watch the batter turn glossy and rich.
- Mix in Buttermilk and Rosé:
- Pour in buttermilk, rosé, and vinegar; the kitchen will fill with a subtle tang and the batter gets even silkier.
- Color It Beautiful:
- Add pink gel a dab at a time, stirring gently until the blush is just right for your mood or the occasion.
- Bake the Cake Layers:
- Divide the batter among pans and slide them in the oven; in about 30 minutes the smell will make patience a challenge.
- Cool and Prep for Frosting:
- Let your cakes rest in the pan for 10 minutes, then transfer to racks and cool completely so frosting glides on, not melts.
- Whip Up the Frosting:
- Blend butter with cream cheese, then add powdered sugar slowly, and pour in rosé for a frosting that's fluffy and fragrant.
- Assemble and Frost:
- Level cakes if needed, then layer with frosting, crumb coat, chill, and finish with a pillowy outer swirl.
- Create the Gold Drip:
- Melt white chocolate with cream until smooth and barely warm; drip it down the cake's edge and let gravity do the magic.
- Paint Your Drip:
- Mix luster dust and vodka, then gently brush the drip until it gleams gold under the light–it only needs a delicate touch.
- Chill Before Slicing:
- Set your masterpiece in the fridge for half an hour to ensure every layer and shimmer holds firm.
 Save
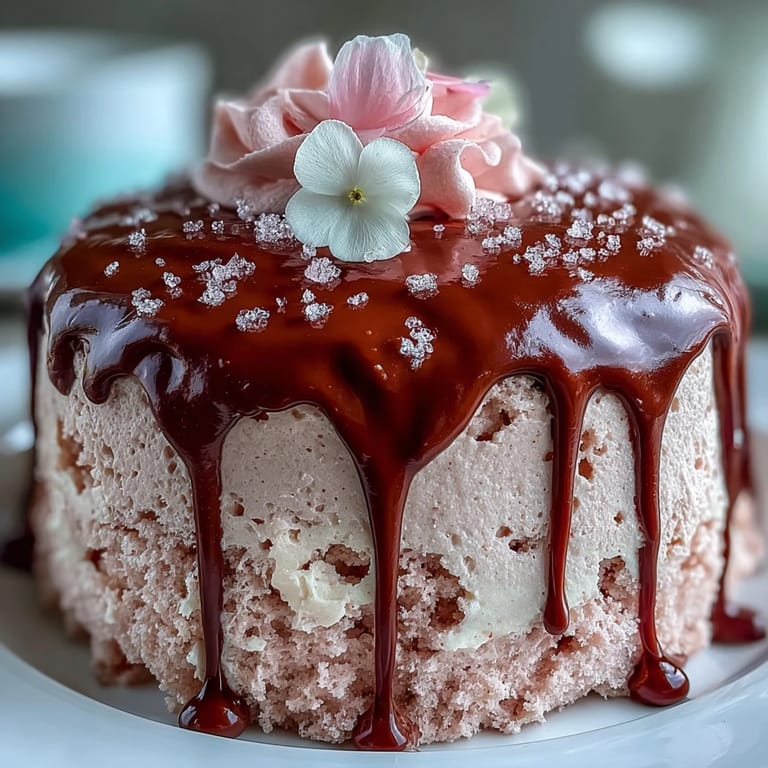
Save The moment the first slice landed on a plate, my friend's godmother gasped and said it looked too pretty to eat–but she ate two helpings anyway. There's something about that touch of gold and soft pink that makes even a Tuesday afternoon feel like an event. We shared sideways glances over crumbs, and my favorite part was the silence after the first dreamy bite. That's how you know you've made a memory, not just a dessert.
How to Get a Stunning Pink Hue Every Time
No two bottles of rosé are the same, and some will tint the batter more than others, so let the food coloring do the real work. Always add it a dab at a time – too much and you'll have neon instead of blush. The color deepens a shade or two as it bakes, so stop just shy of what you want in the bowl. I like to start by mixing just enough for a delicate whisper of pink, then swirling in a last bit if I want more drama. Stand back and admire before taking your cake into the oven – it always feels like the big reveal moment.
Making the Gold Drip Without Fuss
I used to hold my breath the first few times I did a drip on cake, but it's really about temperature and patience. If the white chocolate is too warm, it runs straight to the bottom; too cool, and it won't budge at all. Aim for just cooler than room temp, spoon it gently near the edge, and let the drips fall as they want. Painting on the gold is honestly my favorite–it feels a little like gilding a treasure. Wipe the brush to avoid streaks, and you'll get a luminous, almost magical finish without stress.
Decorations and Serving Ideas to Wow Your Guests
Sometimes I add edible flowers and gold leaf, but a scatter of fresh berries can turn the cake into a garden party centerpiece all by itself. Try brushing a few strawberries with gold or nestling in some sugared rose petals for fairytale vibes. Even without extra frills, the shimmer and pink crumb always turn heads.
- If you go for edible flowers, make sure they’re pesticide free and food safe.
- Add extra rosé flavor by brushing it on your cooled cake layers just before frosting.
- Chill the finished cake at least 30 minutes for clean, gorgeous slices.
 Save
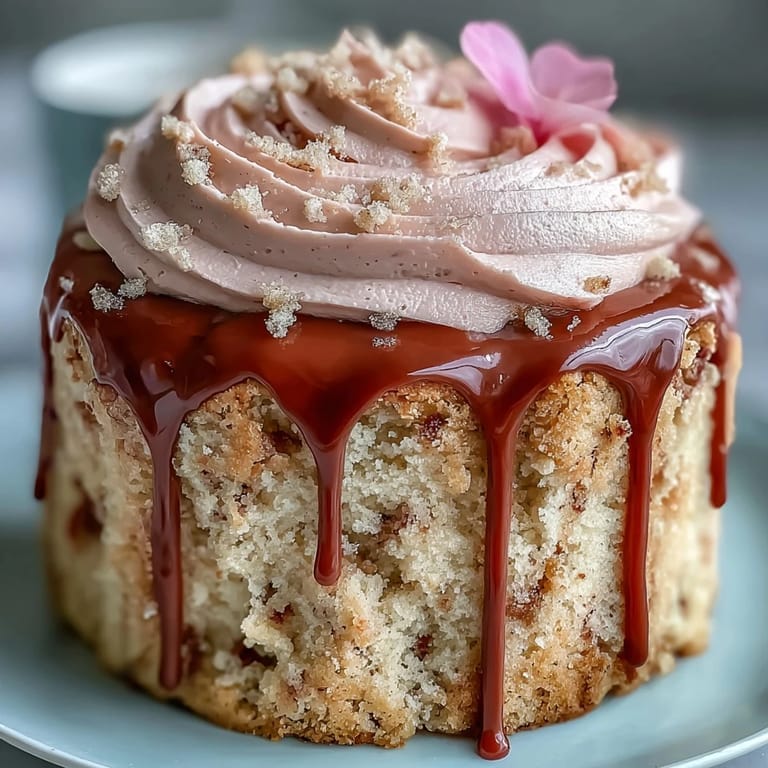
Save This cake brings sparkle to any gathering and looks as magical on a quiet Sunday as at a bridal shower. However you decorate it, I hope it brings as much joy and laughter as it has at my table.
Common Questions
- → How can I intensify the rosé flavor?
Brush cooled cake layers lightly with reserved rosé before assembling, or fold a tablespoon of reduced rosé into the frosting. Use a quality rosé with pronounced fruit notes for the most impact.
- → What non-alcoholic swap works best?
Substitute rosé with sparkling grape juice or a concentrated white grape reduction. If using juice, reduce other liquids slightly to maintain batter consistency and moisture balance.
- → How do I get a smooth, even gold drip?
Bring white chocolate and cream to a pourable but not hot temperature; test drips on the chilled cake edge. Use a squeeze bottle or spoon and work quickly. Paint with edible gold mixture once the chocolate sets slightly for a polished look.
- → What are the best storage practices?
Store the finished cake refrigerated, covered loosely with a cake dome or plastic wrap to protect decorations. Bring to room temperature 30–60 minutes before serving for optimal flavor and texture.
- → Can I make components ahead of time?
Yes — bake layers a day ahead and wrap tightly, or freeze layers for longer storage. Prepare frosting and white-chocolate drip in advance and chill; assemble and decorate on the day for freshest appearance.
- → How can I adapt for common allergies?
For dairy-free, use plant-based butter and cream cheese alternatives and choose dairy-free white chocolate. For egg-free options, use an egg replacer and expect slightly different crumb; always test texture and bake times.