 Save
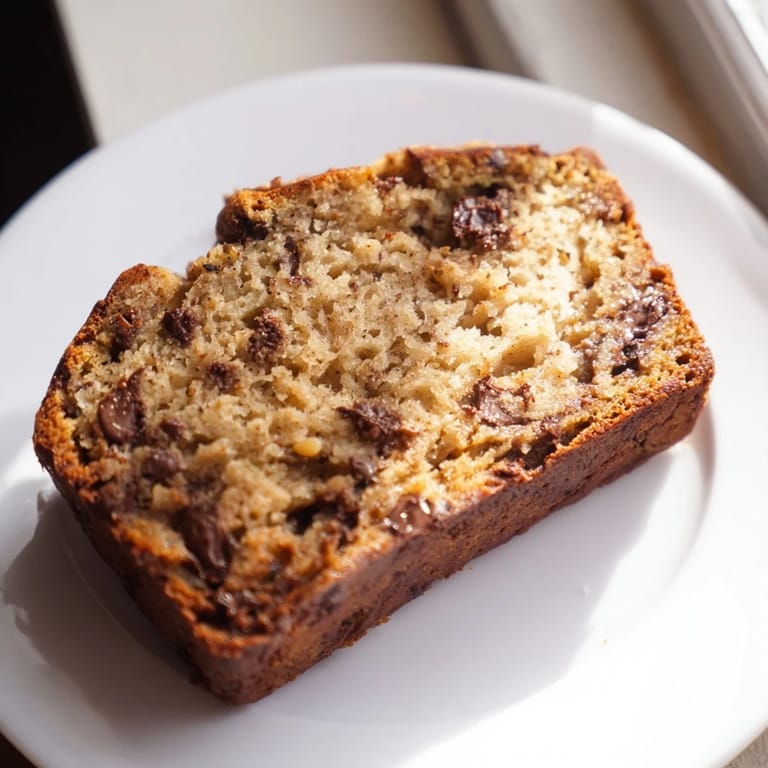
Save There's something about the smell of banana bread baking that stops me mid-morning and makes the whole kitchen feel warm before I've even had my coffee. I stumbled into my own version of this recipe years ago when I had three blackening bananas on the counter and suddenly wanted something more interesting than banana smoothies. What started as a practical way to use them up became the bread I now make whenever I need comfort in loaf form.
My neighbor once stopped by just as the loaf came out of the oven, and I remember watching her face when she took a slice still warm from the pan. She didn't say much, just closed her eyes. That's when I knew this banana bread had crossed from being a kitchen staple into something that could actually change someone's afternoon.
Ingredients
- All-purpose flour (2 cups): This is your structure, and measuring by weight rather than volume keeps the bread from becoming dense or gummy.
- Baking soda (1 teaspoon): It reacts with the acidity in ripe bananas to create that signature tender crumb, so don't skip or shortchange this.
- Salt (1/2 teaspoon): A small pinch that somehow makes the banana flavor pop without tasting salty at all.
- Unsalted butter (1/2 cup, softened): Room temperature is non-negotiable here because cold butter won't cream properly with the sugar.
- Granulated sugar (3/4 cup): Or swap for brown sugar if you want a deeper molasses note and slightly chewier texture.
- Eggs (2 large): Room temperature eggs blend into the batter smoothly without creating little pockets of undissolved yolk.
- Vanilla extract (1 teaspoon): It adds a subtle warmth that complements ripe banana perfectly.
- Ripe bananas (3, mashed): Look for ones with freckles and brown spots because their natural sugars are at peak sweetness and the texture becomes almost butter-like when mashed.
- Chocolate chips or nuts (3/4 cup, optional): Chocolate chips add bursts of richness while nuts bring a gentle crunch and earthiness that feels more sophisticated.
Tired of Takeout? 🥡
Get 10 meals you can make faster than delivery arrives. Seriously.
One email. No spam. Unsubscribe anytime.
Instructions
- Prepare your stage:
- Preheat the oven to 350°F and get your loaf pan ready with parchment or a light coating of oil and flour. Having everything ready before you start mixing means you won't rush the batter into the oven before it's truly ready.
- Combine the dry team:
- Whisk your flour, baking soda, and salt together in a medium bowl, then set it aside. This prevents lumps and distributes the leavening evenly throughout the batter.
- Cream butter and sugar:
- Beat them together in your largest bowl until the mixture becomes pale, fluffy, and almost cloud-like, which takes about 2 to 3 minutes with an electric mixer. You're not just mixing here, you're aerating the batter so it rises gently and stays tender.
- Introduce the eggs:
- Add your eggs one at a time, beating well after each addition to ensure they're fully incorporated. This helps create a stable emulsion that holds the whole batter together.
- Marry the wet and dry:
- Gently fold the dry ingredients into the wet mixture, stirring only until no white streaks of flour remain visible. Overmixing develops gluten and turns banana bread dense and tough, so practice restraint here even though you might feel like stirring more.
- Stir in the bananas and vanilla:
- Fold them in until the mixture is just combined and has that rustic, slightly lumpy appearance that signals you've stopped at exactly the right moment. The banana adds moisture and sweetness that runs through every bite.
- Add your optional treasure:
- Fold in chocolate chips or nuts if you're using them, distributing them throughout the batter so you get some in nearly every slice. I usually use chocolate chips in winter and nuts when I want something that feels lighter.
- Transfer to the pan:
- Pour the batter into your prepared loaf pan and smooth the top with a spatula, filling it about three-quarters full. This height gives you that beautiful dome that forms as the bread rises.
- Let it bake:
- Bake for 55 to 65 minutes, checking around the 55-minute mark by inserting a toothpick into the center. When it comes out clean or with just a crumb or two, you're done and the top should be golden brown.
- Cool with patience:
- Let the loaf rest in the pan for about 10 minutes so the structure sets slightly, then turn it out onto a wire rack to cool completely. Slicing it warm is tempting but waiting lets the crumb set so you get clean slices instead of mushy ones.
 Save
Save I learned to make this bread during a winter when my daughter was too young to do much in the kitchen except stand on a chair and watch. She'd wait by the oven window, and when it came out, I'd let her help me slice it even though half the pieces were crooked. That's when banana bread stopped being just a recipe and became a moment I could create with someone I loved.
Flavor Variations That Work
Brown sugar instead of white sugar deepens everything with caramel notes, while a quarter teaspoon of cinnamon or nutmeg adds warmth without announcing itself. I once stirred in a tablespoon of cocoa powder and a handful of dark chocolate chips, and it transformed into something almost like chocolate banana cake. A splash of rum or a teaspoon of almond extract can also shift the whole personality of the loaf depending on what you're in the mood for.
Make-Ahead and Storage Wisdom
This bread actually improves on the second day once the flavors have settled and the crumb becomes more even. Wrapped tightly in plastic wrap or stored in an airtight container, it keeps perfectly for four days at room temperature and can be frozen for up to three months. I've pulled out a slice from the freezer on random mornings, toasted it lightly, and felt grateful that past me had been thoughtful enough to prepare.
Small Details That Make the Difference
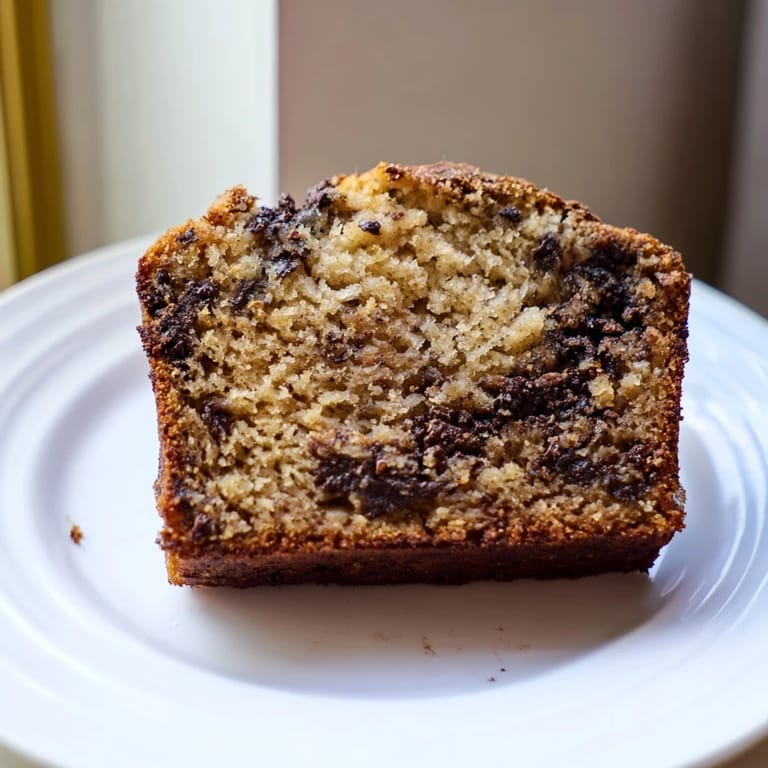
The way you mash the bananas matters more than most recipes admit. Using a fork leaves tiny pieces that create a slightly chunky texture, while a few pulses in a food processor creates a smoother, more uniform crumb. Some people let the batter rest for ten minutes before baking, which seems to help the bread rise a touch higher. Toast a slice and spread it with salted butter while it's still warm, or drizzle with honey if you want something sweeter.
- A wooden toothpick inserted into the center should come out clean or with just a moist crumb clinging to it, never with wet batter.
- If your loaf is browning too quickly, cover it loosely with foil for the last 15 minutes of baking.
- Save overripe bananas in the freezer until you have three, then thaw them before using—the texture becomes almost creamy when frozen and thawed.
 Save
Save This is the kind of recipe that becomes a quiet comfort, something you reach for without thinking much about it but that somehow always feels like exactly what you needed. Make it, share it warm, and watch how something so simple can turn an ordinary day into something worth remembering.
Common Questions
- → What adds moisture to the bread?
Ripe mashed bananas provide natural moisture, ensuring a tender and soft crumb.
- → Can I customize the texture?
Yes, folding in chocolate chips or chopped nuts gives optional bursts of flavor and crunchy texture.
- → What type of flour is used?
All-purpose flour forms the base, contributing structure while keeping it soft.
- → Are there any tips for richer flavor?
Substituting white sugar with brown sugar adds a deeper, caramel-like taste.
- → How to make it dairy-free?
Replacing butter with coconut oil or plant-based butter helps accommodate dairy-free preferences.
- → What’s the ideal baking temperature?
Baking at 350°F (175°C) for about an hour yields a perfectly baked loaf.